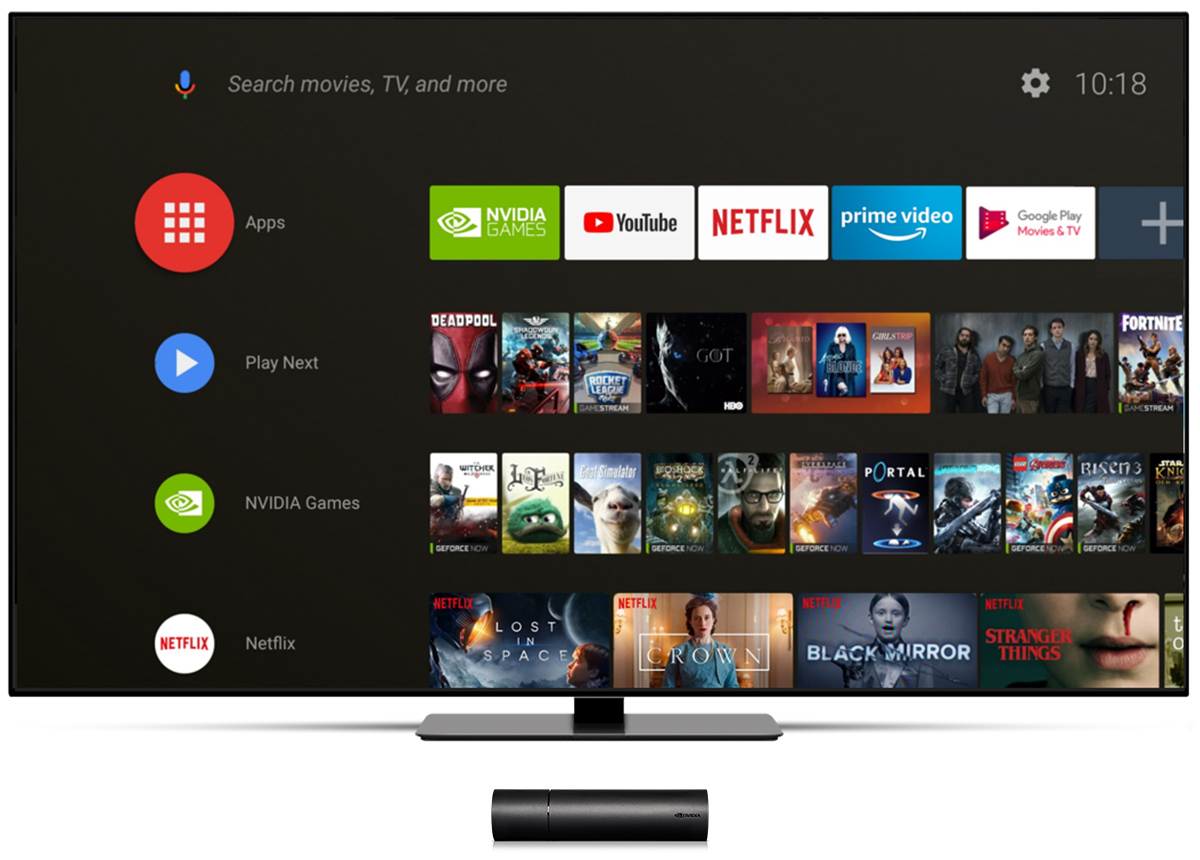
If youre using NVIDIA SHIELD for streaming you know its a top choice for HD, 4K content and even gaming. Adding a VPN to your SHIELD setup can take your streaming to the next level by letting you access content from all over the world avoid internet slowdowns and keep your browsing secure.
Lets dive into an easy human friendly guide on installing a VPN on your NVIDIA SHIELD so you can enjoy better content options and improved privacy.
Why Use a VPN on NVIDIA SHIELD?
A VPN (Virtual Private Network) isnt just for privacy it gives you control over your streaming. Heres why its a game changer:
- Access Geo Blocked Content: Streaming libraries vary by country and a VPN lets you choose a virtual location to watch content from anywhere.
- Stay Secure Online: A VPN encrypts your connection protecting you from hackers especially on public Wi-Fi.
- Prevent ISP Throttling: Some ISPs slow down streaming a VPN can bypass this giving you faster, buffer free streaming.
Step 1: Pick a VPN for NVIDIA SHIELD
Choosing the right VPN is key. Since NVIDIA SHIELD runs on Android go for a VPN thats compatible and known for streaming speeds.
Top Choices:
- ExpressVPN: Great for speed and high quality streaming.
- NordVPN: Large server network perfect for streaming from various locations.
- Surfshark: Budget friendly with unlimited devices.
Step 2: Install the VPN App on NVIDIA SHIELD
Since SHIELD is Android based installing a VPN app is a breeze:
- Open Google Play Store: From your SHIELD home screen, go to Apps > Google Play Store.
- Search for Your VPN: Type in your chosen VPN (e.g. ExpressVPN).
- Install and Open the VPN: Select Install then open the app.
- Log In and Connect: Enter your account details choose a location and hit Connect.
Now, your NVIDIA SHIELD is connected to the VPN and ready for unrestricted streaming.
Step 3: Adjust VPN Settings for the Best Streaming
To keep your connection fast and reliable here are some quick settings to check:
- Choose a Fast Server: Select a server close to you for faster streaming.
- Enable Split Tunneling (if available): Use this to route only certain apps through the VPN preserving bandwidth.
- Select the Right Protocol: Go with the recommended protocol for the best balance of speed and security.
Step 4: Verify Your Connection
Make sure your VPN connection is working properly:
- Check Your IP: Use a browser on SHIELD to visit whatismyip.com it should show your VPNs location.
- Try Streaming: Open a streaming app to see if it shows content from your selected region.
Alternative: Setting Up the VPN on Your Router
If you want all your devices covered install the VPN on your router. This way NVIDIA SHIELD (and everything else on your network) will connect through the VPN without additional setup.
- Check Router Compatibility: Ensure your router supports VPNs.
- Enter VPN Details: Log into your router settings and input VPN information.
- Connect the Router: Save the settings, and your network is now protected by the VPN.
Tip: Each router setup is unique; check instructions from your VPN provider for the best results.
FAQ
Will a Free VPN Work on NVIDIA SHIELD?
Some free VPNs work but theyre limited in speed and server options. For smooth streaming a paid VPN is recommended.
Does VPN Slow Down Streaming?
Slight speed drops can happen but using a nearby server and a premium VPN minimizes this.
Conclusion
Adding a VPN to NVIDIA SHIELD is a simple way to boost streaming options and privacy. Follow these steps to enjoy more content less buffering, and added security on your NVIDIA SHIELD.
How to Install a VPN on Firestick: A Complete 2024 Guide
